
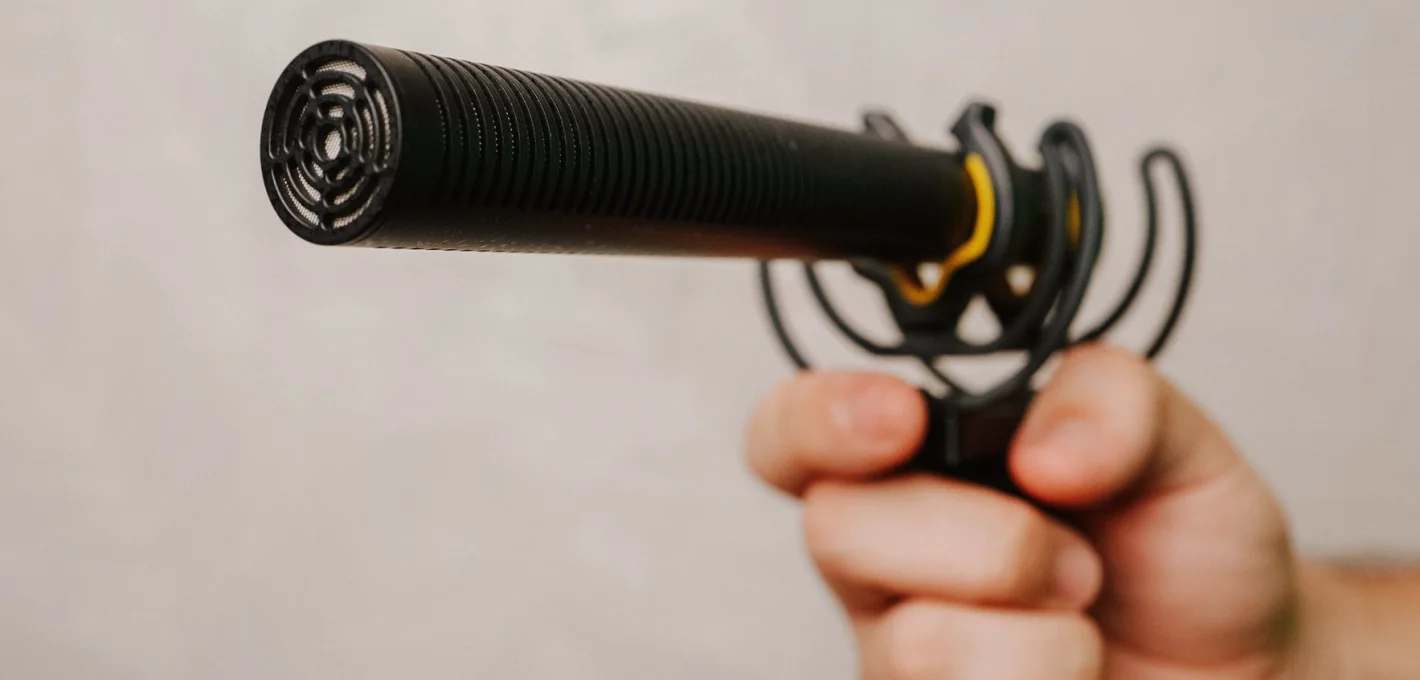
Capturing Clean Audio and Steady Shots on a Live Location Shoot
A practical walk-through of the audio and handheld habits we teach in our field sessions, so your location footage holds up when it reaches the edit suite.
Start with the sound, not the picture
Most new operators arrive on location thinking about the shot first. In our field sessions we ask them to reverse that habit. A viewer will forgive a slightly soft frame, but they will switch off at once if the voice is thin, hissing or buried in traffic. Before you raise the camera, stand where your reporter will stand and listen for thirty seconds. Note the road, the wind, any hum from a shopfront or a generator, and decide what you can move away from.
Autumn makes this harder than people expect. Leaves skitter across pavements, gusts come in short bursts, and low sun pushes you into awkward positions. If you can, place the interview with a solid wall behind the speaker, which cuts the wind and gives you a calmer background. Mid autumn light also changes quickly, so check your audio setup first and your exposure second, because audio problems cannot be repaired afterwards, while a grade can rescue a lot.
- Listen for thirty seconds before unpacking anything
- Move the speaker away from traffic and machinery where you can
- Use a wall or building as a windbreak
- Settle sound first, exposure second
Placing the microphone where it earns its keep
Distance is the single biggest factor in clean speech. A handheld stick microphone held roughly a hand-span from the speaker's chin will beat an expensive one held at arm's length. Teach your reporter to hold it steady and level, and to move it between themselves and a guest rather than waving it around. If you are using a lavalier, clip it near the breastbone, hide the cable under clothing, and keep it clear of jewellery and scarves that will rustle.
Always fit a windshield outdoors, even when the air feels still. A mild breeze across an uncovered capsule produces low thumps that no filter fully removes. Keep a spare furry cover in your bag, because they get damp and matted during wet weeks. Wear headphones throughout the recording and listen to the whole take, not only the opening seconds, since problems often appear partway through when a lorry passes or a cable shifts.
- Hold the microphone about a hand-span from the chin
- Hide lavalier cables and keep them clear of fabric
- Fit a windshield every time you shoot outside
- Monitor on headphones for the full length of the take
Setting levels you will not regret later
Set your input level while the speaker talks at their natural volume, not while they are checking the microphone with a quiet hello. Ask them to describe their morning, or to read a line from the script in their ordinary delivery. Aim for peaks that sit comfortably below the top of the meter, leaving headroom for the moment they laugh or raise their voice. Clipped audio is permanent, whereas a quiet recording can be lifted safely in the edit.
If your camera allows manual control, use it. Automatic gain keeps pumping the background up between sentences, and the result sounds like breathing noise behind every pause. Record a few seconds of room tone at the end of each setup, simply asking everyone to stay silent. Editors rely on that clip to fill gaps and smooth cuts, and it costs you almost nothing to gather while you are still standing in the place.
- Test levels with natural speech, not a whispered check
- Leave headroom for sudden laughter or emphasis
- Prefer manual gain over automatic gain
- Record room tone before leaving each setup
Handheld stability without a tripod
News work often means no time for a tripod, so your body becomes the support. Plant your feet shoulder-width apart, tuck your elbows against your ribs, and let your knees take the small movements of walking. Pressing the camera's rear against your shoulder, with the eyepiece or screen close to your face, gives you three points of contact instead of one. Breathe out slowly as you start a shot, and hold the framing for a full count of ten before you move.
Resist the urge to zoom while recording. Instead, walk the shot in or step back, which feels more natural to the viewer and keeps your hands calmer. When you must follow a moving subject, bend your knees slightly and roll your feet heel to toe, so the camera glides rather than bounces. Practise these movements in a corridor or car park before the assignment, because the habit has to be in your legs when the pressure arrives.
- Feet shoulder-width apart, elbows against the ribs
- Brace the camera against your shoulder and face
- Walk the shot instead of zooming during recording
- Roll heel to toe when following a moving subject
Framing and exposure for a quick interview
For a standard single-person interview, place the eyes roughly a third of the way down the frame and leave a little space in the direction they are looking. Keep the shot wide enough to include the top of the shoulders, and avoid cutting through the chin or the crown of the head. Check what stands behind the speaker: a lamp post seeming to grow from their ear is a classic and avoidable mistake.
Exposure on location usually means managing contrast. Position your speaker so that the main light falls on their face from the side, not directly behind them, and avoid bright sky filling the background. If the camera offers zebra patterns or a histogram, use them rather than trusting the small screen, which looks different in daylight. Lock your exposure and white balance once you are happy, so the picture does not shift halfway through an answer.
- Eyes about a third down the frame, with looking space
- Scan the background for objects behind the head
- Use zebras or a histogram, not only the screen
- Lock exposure and white balance before the answer begins
A short routine to practise before you head out
The techniques above work best as a routine you can run without thinking. We suggest a simple order: listen, place, level, frame, then record. Write it on a card and tape it inside your bag until it becomes automatic. Run it once at home with a friend standing in the garden, then repeat it somewhere noisier, such as a high street, so you learn how much the environment changes each step.
Review your own footage the same evening, while you still remember the conditions. Watch it once with the sound off to judge framing and steadiness, and once with your eyes closed to judge audio. Note one thing to improve on the next job and only one, because trying to fix everything at once usually fixes nothing. Over a few weeks the small corrections add up to footage that editors are glad to receive.
- Follow the order: listen, place, level, frame, record
- Practise in a quiet place, then a noisy one
- Review footage once with no sound, once with eyes closed
- Choose a single improvement for the next shoot
Good location footage rarely comes from clever equipment. It comes from a handful of habits repeated calmly: listening first, keeping the microphone close, setting honest levels, standing steadily and checking the frame. None of this is difficult, but it does need practice under realistic conditions. If you want to work through these steps with a camera in your hands and an instructor beside you, our field sessions are built around exactly that kind of repetition.